You have no items in your shopping cart.
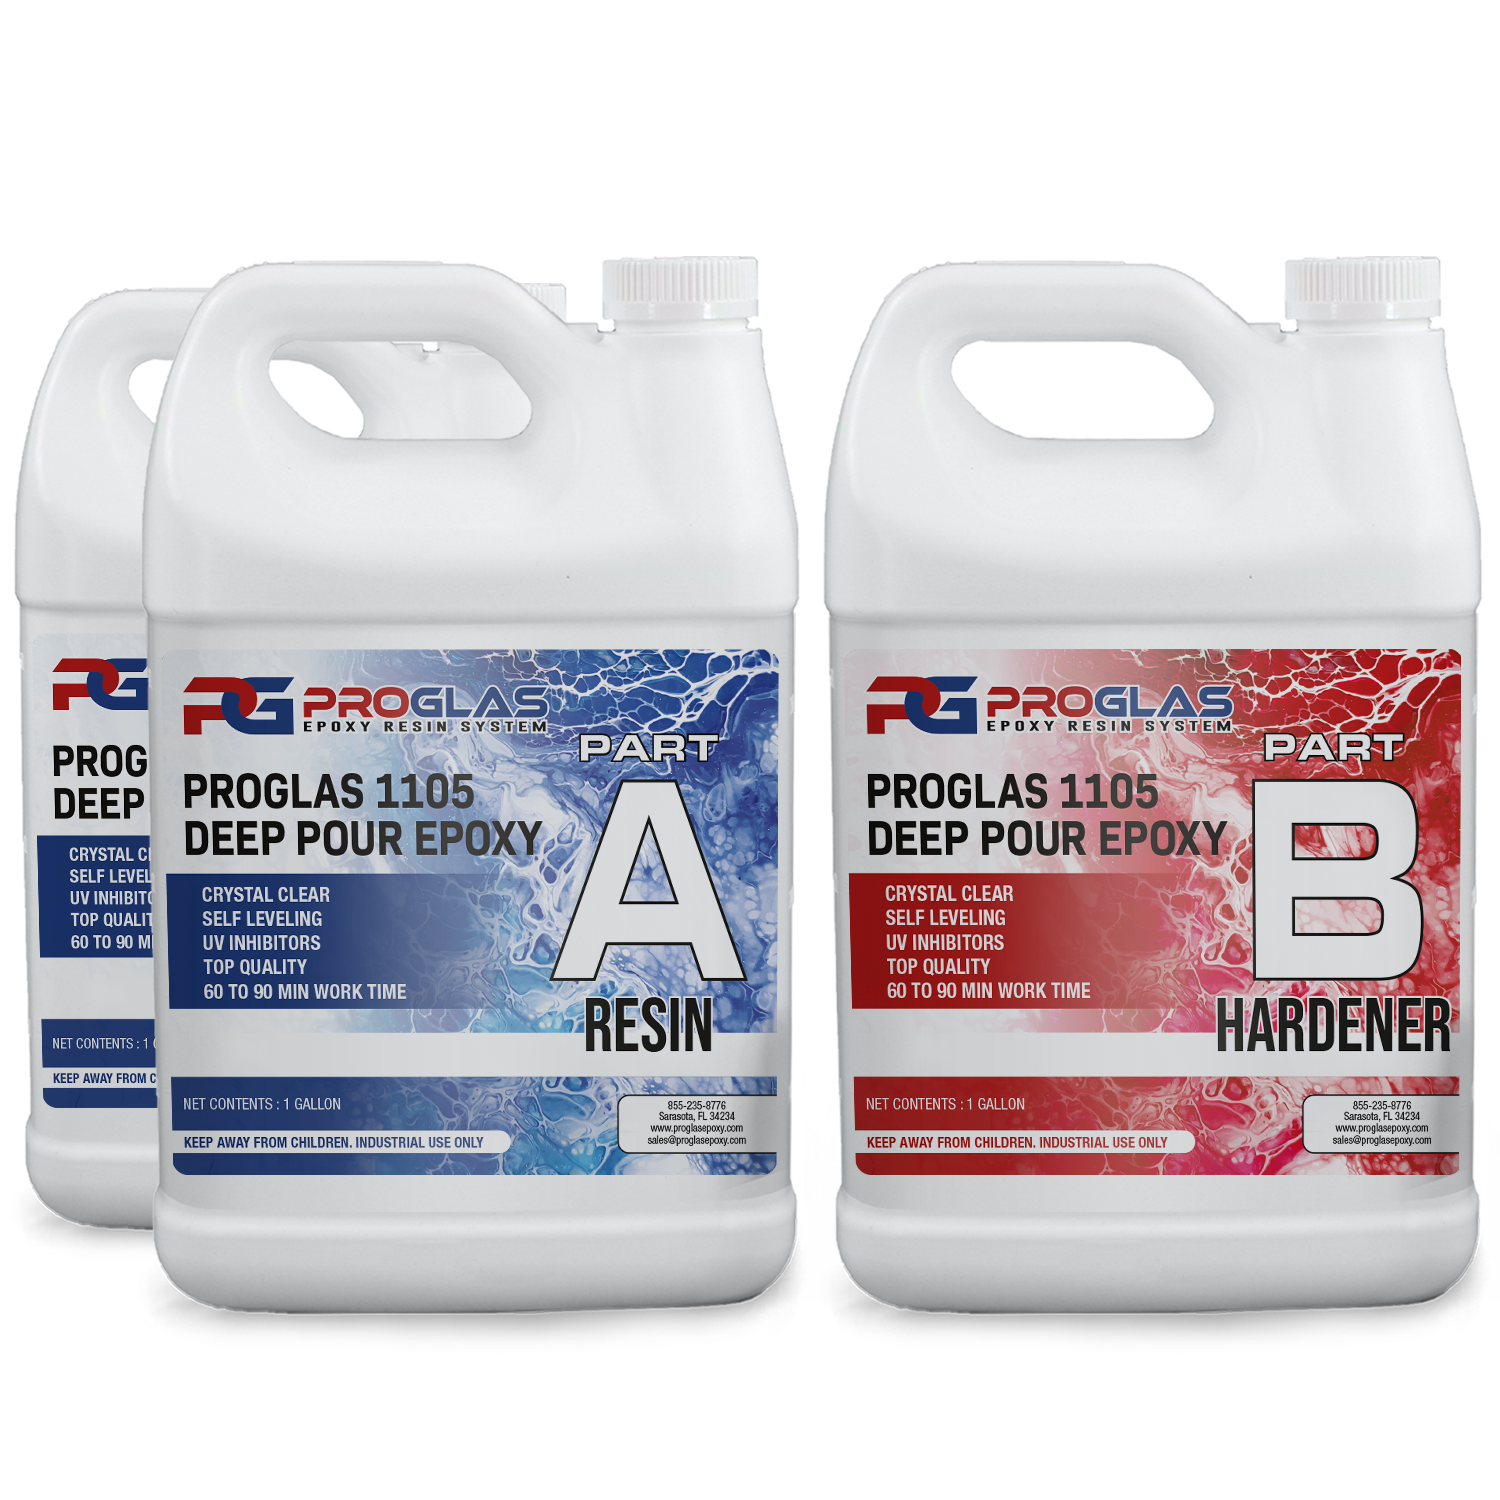
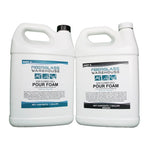
ProGlas 1105 Deep Pour Epoxy Resin
Introducing ProGlas 1105 Deep Pour Epoxy Resin - your ultimate tool for creating breathtaking, glass-like masterpieces. This highly adaptable, 100% solids resin is perfect for crafting magnificent river tables, elegant countertops, intricate figurines, and captivating art pieces up to 2" thick. Achieve stunning results with our step-by-step instructions for successful deep pour epoxy resin application.
Materials and Tools:
ProGlas 1105 Epoxy Resin Kit: Mix 2 parts Part A with one part Part B by volume.
Mixing Containers: For easy measuring and mixing, grab some clean, disposable silicone or plastic measuring cups. Avoid glass or foam containers as they can cause unwanted reactions.
Stirring Sticks or Drill Mixer: To thoroughly mix the resin, use plastic or wooden stirring sticks. If you're working with larger quantities, a drill mixer can come in handy, just be careful not to overmix.
Pigments and Additives: For a pop of color or special effects, have some pigments, dyes, or additives on hand. Just make sure to follow the manufacturer's recommendations for compatibility.
Release Agent (optional): If you'll need to remove your project from a mold, consider using a mold release agent to make the process easier.
Torch or Heat Gun: To achieve a flawless finish, use a torch or heat gun to remove any pesky air bubbles from the surface.
Safety Precautions:
Stay Safe with the Right Gear: Don't forget to suit up with safety glasses, gloves, and a long-sleeved shirt. Make sure you have a well-ventilated workspace and a respirator if the fumes are too much.
Create the Perfect Workspace: Set up in a clean and well-ventilated area with a sturdy work surface. Make sure to find a spot away from direct sunlight and any drafts.
Instructions:
Prepare Your Work Area: Cover your work surface with a drop cloth or plastic sheet to catch any spills. Make sure your workspace is tidy and free from dust and debris.
Measure and Mix: Pour Part A and Part B into separate mixing containers. The mix ratio is two parts Part A to one part Part B by volume.
Mix Thoroughly: Stir each component separately, then combine the resin and hardener in a new container. Stir well making sure to scrape the sides and bottom to ensure everything is well mixed.
Add Color (if desired): If you're using pigments or additives for color, add them to the mixed resin according to the manufacturer's instructions.
Pour Epoxy: Pour your mixed epoxy resin onto your project surface or into a mold. Pay attention to the recommended thickness of no more than two inches and pour in layers if needed.
Remove Air Bubbles: Use a torch or heat gun to gently eliminate any air bubbles from the surface. Take it slow and be cautious not to overheat and damage the resin.
Curing Time: Let the epoxy resin cure in a dust-free environment at around 75-80 degrees Fahrenheit. This process may take anywhere from 24 hours to several days.
Finish and Sand (Optional): Once cured, sand the surface if necessary and apply a topcoat for extra protection and shine if desired.
Cleanup: Before the epoxy hardens, clean your tools and containers with acetone or an epoxy resin solvent for easy cleanup.
Still have questions about using ProGlas 1105. You can reach out to us at sales@fiberglasswarehouse.com or 833-669-7899. We are always happy to help.


