You have no items in your shopping cart.
Keep Your RV Dry and Comfy with Fiberglass and Resin
When you're hitting the open road in your RV, the last thing you want is a leaky roof. Water damage can turn your dream vacation into a nightmare. But don't worry! You can protect your RV with a waterproof shield using fiberglass and resin. This guide will walk you through the process step-by-step, ensuring your RV stays dry and comfy all year round.
Why Choose Fiberglass and Resin?
Fiberglass and resin are top choices for waterproofing RV roofs due to their durability and effectiveness. Unlike other materials, fiberglass is resistant to cracking and weathering, making it perfect for outdoor use. Resin, on the other hand, acts as a strong adhesive, binding the fiberglass to your RV roof securely. Gelcoat, which is a superior grade polyester resin that is usually colored, is recommended as the final layer. Together, the fiberglass, resin and gelcoat, form a tough, water-resistant barrier that can withstand weather conditions.
Additionally, fiberglass and resin are relatively easy to work with, even for DIYers. They provide long-lasting protection, saving you money on frequent repairs and maintenance. With just a bit of effort, you can achieve professional-quality results and ensure your RV remains leak-free.
Preparing the Roof Surface
Before you start applying fiberglass and resin, it's crucial to prepare your RV roof properly. Begin by thoroughly cleaning the surface to remove any dirt, debris, and old sealant. Allow the roof to dry completely before moving on to the next step.
Typically, if your RV is leaking, it means there is some wood damage. If a section of plywood needs to be replaced, get rid of the damaged sections and replace with new plywood.
Inspect the roof for any other existing damage, such as cracks or holes. These should be repaired before applying the fiberglass and resin. Use a suitable patching material, such as a fairing putty, to fill in any gaps, ensuring a smooth and even surface. Cracks should be filled with a structural bonding putty. Sand down any rough spots or protrusions to create a clean, level surface for the application.
Gathering Necessary Supplies
To successfully waterproof your RV roof with fiberglass and resin, you'll need a few essential supplies. Here's a list of items you'll need to get started:
- Sandpaper (various grits)
- Masking tape and plastic sheeting
- Mixing containers and stir sticks
- Gelcoat (optional but recommended if working with polyester or vinyl ester resins)
Having all these supplies ready will make the process smoother and more efficient. Make sure to choose high-quality materials to ensure the best results.
Applying Fiberglass Cloth
Start by cutting the fiberglass cloth or mat into manageable sections that will cover your RV roof. Lay the pieces out on a clean surface and ensure they fit together well. This will help you create a seamless, waterproof layer.
Next, apply a layer of resin to the roof using a brush or roller. Place the fiberglass onto the wet resin and press it down firmly to remove any air bubbles.
Once the fiberglass cloth is in place, apply another layer of resin on top, ensuring it saturates the cloth completely. This will create a strong bond and provide a waterproof seal. Allow the resin to cure according to the manufacturer's instructions before moving on to the next step. If you are adding additional layers, you only need to let it gel first.
Adding Additional Layers
For extra durability and protection, consider adding multiple layers of fiberglass and resin. You can alternate layers of different types of fiberglass. Each additional layer will increase the strength and waterproofing capabilities of your RV roof. Repeat the process of applying resin, laying down fiberglass, and adding more resin until you achieve the desired thickness. Use a waxed resin or gelcoat for the final layer for a hard, tack-free finish. A gelcoat is recommended for added UV protection and to further protect the fiberglass.
Sanding and Smoothing
Once the resin or gelcoat has cured, it's time to sand the surface to achieve a smooth finish. Start with a coarse-grit sandpaper to remove any rough spots or imperfections. Gradually switch to finer grits to achieve a polished, even surface. Follow up with a buff and polish.
Take your time during this step, as a smooth surface will not only improve the appearance but also enhance the effectiveness of the waterproofing. After sanding, wipe down the roof with a clean cloth to remove any dust or debris.
Inspecting the Final Result
After sanding and smoothing, carefully inspect the roof for any missed spots or areas that may need additional attention. Look for any signs of air bubbles or gaps in the fiberglass and resin layers. Address any issues promptly to ensure a completely waterproof seal.
If necessary, apply additional layers of resin to reinforce any weak spots. Allow the roof to cure completely before subjecting it to any water exposure. A thorough inspection now will save you from potential problems down the road.
Best Practices for Maintenance
Maintaining your waterproofed RV roof is essential to ensure its longevity and effectiveness. Regularly inspect the roof for any signs of damage or wear and tear. Address any issues promptly to prevent water from seeping in and causing damage.
Clean the roof periodically to remove dirt, debris, and any buildup of mold or mildew. Use a mild detergent and water. Avoid using harsh cleaners or abrasive materials that could damage the fiberglass and resin layers.
Extending the Lifespan
To extend the lifespan of your waterproofed RV roof, consider applying a UV-resistant topcoat if you did not use a gelcoat. This will protect the fiberglass and resin from the damaging effects of the sun's UV rays, preventing cracking and deterioration over time.
Additionally, store your RV in a covered area or use an RV cover when not in use. This will provide extra protection from the elements and help maintain the integrity of the waterproofing.
Conclusion
Waterproofing your RV roof with fiberglass and resin is a practical and effective way to protect your investment. By following the steps outlined in this guide, you can ensure your RV remains dry and comfortable, no matter the weather conditions.
For further assistance or personalized advice, feel free to reach out to our experts sales@fiberglasswarehouse.com. We're here to help you make the most of your RV adventures. Happy camping!
comments (2)
-

-
 Ron
RonHello I have just read your article on redoing RV roof , I have a Japanese import 1994 an oldie, the roof looks like it has been repaired , and not a good job with the repair rough and unsealed , I am wanting to rough it up and refibreglass it ,what would be the best resin ,epoxy or polyurethane, the ply under the existing fibreglass is delaminated in places , I have walked around on it and haven’t gone through lol, I am wanting to build up several layers of glass to make the roof shell quite strong in its own right, cheers Ron


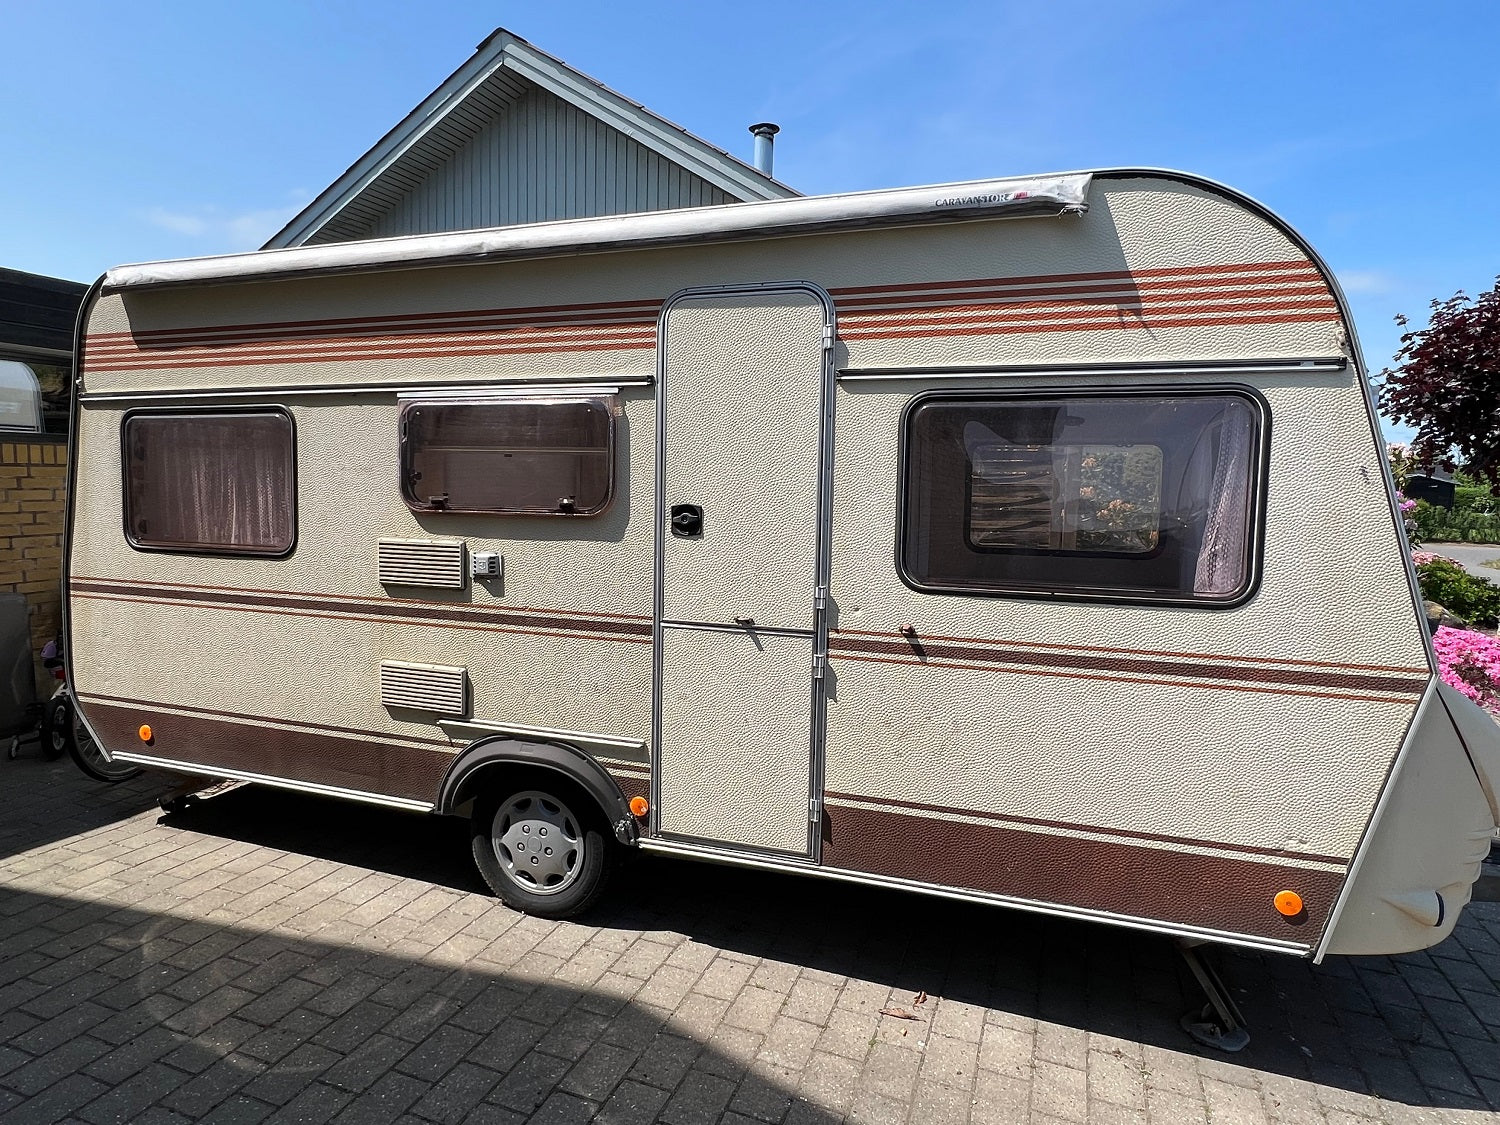
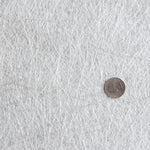

@Ron- I would probably use vinyl ester resin and 1708 Knitted Fabric. Then finish it off with gel coat. Each layer of 1708 is around 0.044”.