You have no items in your shopping cart.
Fiberglass projects can be incredibly rewarding, providing a durable and versatile finish that's perfect for everything from boat repairs to creative sculptures. However, working with fiberglass and resin requires a deft touch and an understanding of the materials to ensure a successful outcome. For the DIY enthusiasts and hobbyists who relish the chance to work on something with their hands, mastering fiberglass work can open up a whole new world of possibilities.
In this post, we'll explore 10 helpful tips and tricks that will take your fiberglass work from novice to knowledgeable. Whether you're repairing a boat hull, making cosplay armor, or crafting a custom car body, these insights will help you achieve the strong, smooth, and professional-looking finish you're aiming for.
10 Tips and Tricks for Working with Fiberglass and Resin
1. Safety First
Before you do anything else, make sure you're prepared with the right safety gear. Fiberglass fibers and resin fumes can be harmful, so wear a mask, gloves, and protective clothing to avoid skin irritation and inhalation of harmful particles.
2. Perfect Prep
The key to a great finish with fiberglass starts with surface preparation. Ensure your work area is clean, dry, and free of debris. If you're applying fiberglass over an existing surface, sand it down to create a texture that the resin can adhere to more easily. Use acetone to clean your surface well before getting started with fiberglass and resin to remove any dust, oils or contaminants.
3. Plan the Layup
Many fiberglass or mats can be layered one on top of the other with no issue. If working with woven roving, though, we recommend starting your layup with a mat layer for the best bonding. Woven roving is typically layered with chopped strand mat as it will help fill in the large gaps found in this heavier fabric.
If you are working with a popular knitted fabric such as 1708, start with the chopped strand mat facing down. Knit fabric 1708 is a biaxial fabric with a layer of fabric oriented in the +45 degree and -45 degree directions stitched to a layer of chopped strand mat. Knit fabric can be layered on itself or with other biaxials or mats.
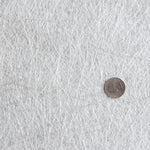
Chopped strand mat is also often used in conjunction with fiberglass cloth to build up thickness quickly. The fiberglass cloth will add the strength and the chopped strand mat will add the needed bulk.
4. Cut Your Cloth
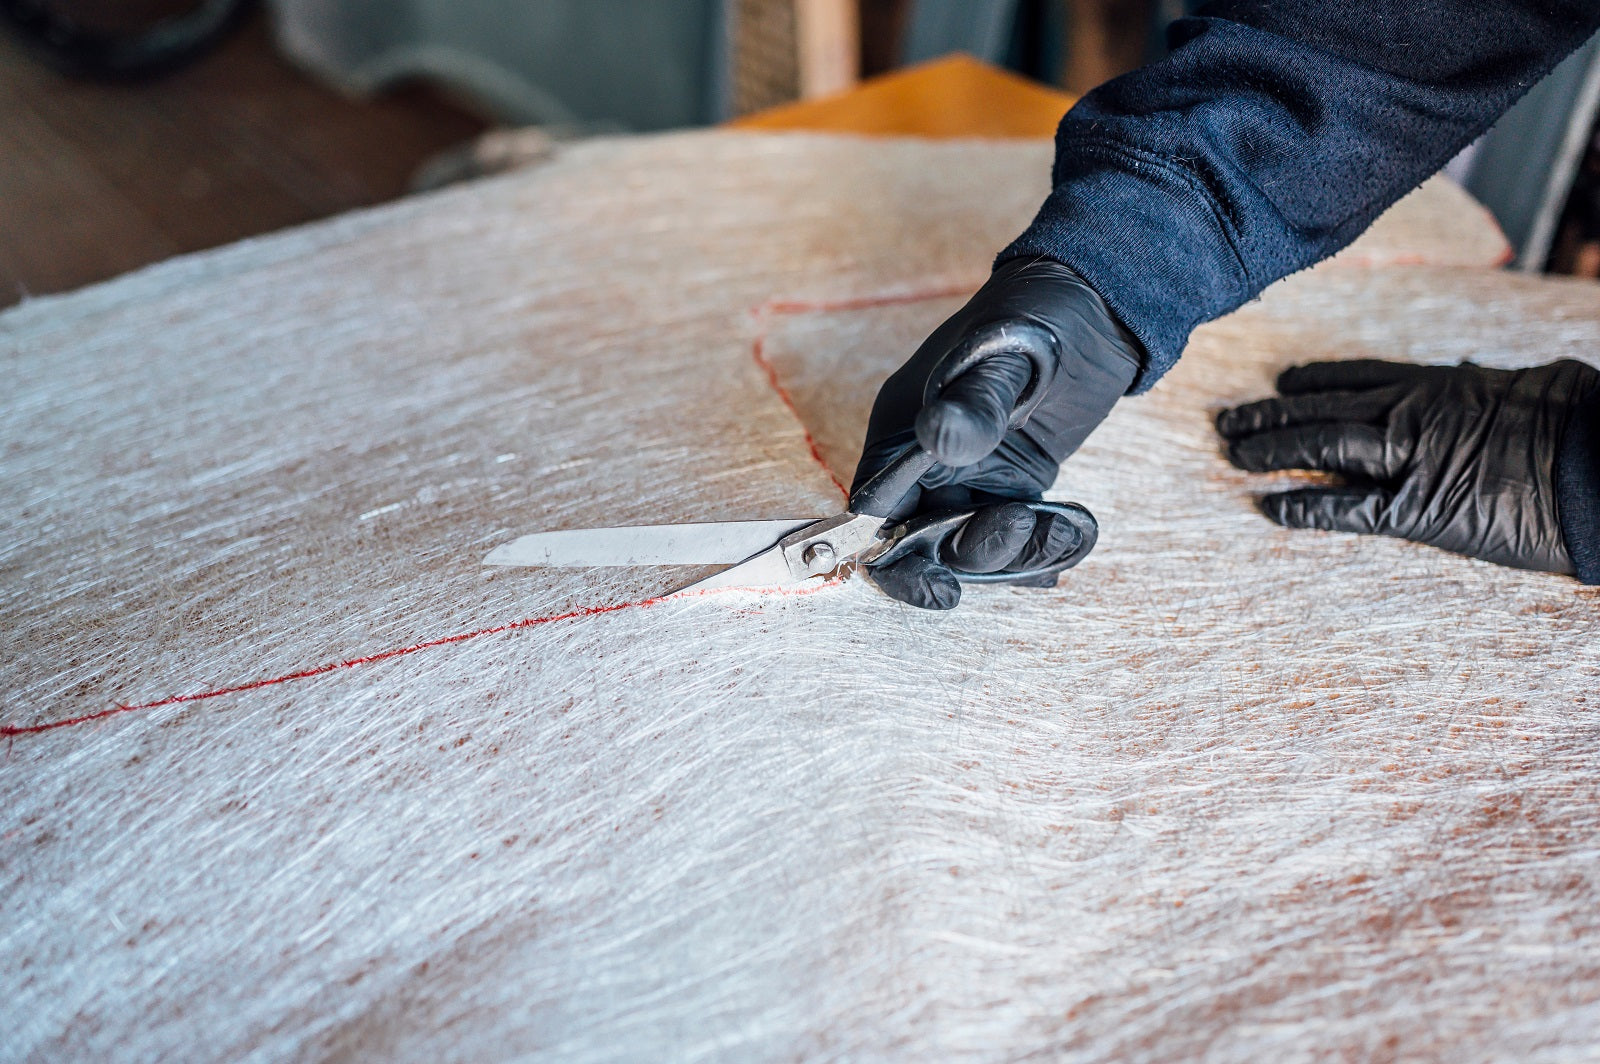
Cut your fiberglass cloth to size before mixing your resin, as the resin can cure quickly. This preparatory step allows you to work swiftly and efficiently once mixing begins.
If you are working with chopped strand mat, many people prefer tearing the mat instead of cutting straight lines. Then, they feather out the edges to create a nice transition or finish.
5. Measure Precise, Mix Thoroughly
Resin chemistry is precise if you are working with epoxies, so accurately measure the resin and hardener. Follow the manufacturer's instructions for the best results, and mix thoroughly to avoid a tacky finish. If working in a hot climate or if you want more working time, choose a slow hardener when purchasing epoxy laminating resin. If it is cold or you have a short working time, you can choose a fast hardener.
Polyester and vinyl ester resins are a little more forgiving when it comes to mixing the resin and MEKP catalyst. The MEKP can be used between 1-2% depending on temperature and humidity. The hotter the temps, the less MEKP you want to use. Don’t go much lower than 1% or higher than 2% by volume as this could either create a laminate that does not cure or one that fractures and cracks from excessive heat.
6. Batch It Up
Mix resin in small batches to prevent it from curing too quickly. Quick curing can lead to wasted materials and uneven work. Working in really large batches will cause a lot of heat and give you very little working time before it could start to kick off, smoke and make a big mess.
7. Brush Basics
Use the right tools for applying resin. Brushes and rollers designed for fiberglass work help avoid air bubbles, which can weaken the final product. Chip brushes are often used with fiberglass work. They are fairly inexpensive and can be tossed when done working with the project or easily washed off with acetone if cleaned before the resin cures.
Ensure you evenly saturate the fiberglass mat or cloth for a uniform finish. If working over a wood that will saturate lots of resin, you may want to do a surface coat before adding fiberglass. This will prevent excess resin from the fiberglass being soaked into the wood and creating dry spots in the laminate.
Fiberglass aluminum finned rollers are nice to work out air bubbles and help evenly saturate the fiberglass with resin. There are a variety of sizes available on the market. Use that finned aluminum roller to smooth out any air bubbles or wrinkles. This step is crucial for a strong bond and professional appearance.
8. Time Your Work
Temperature and humidity affect resin curing times. Work in a well-ventilated area at an ideal temperature between 70-80 degrees Fahrenheit (21-27 degrees Celsius) for the best results.
9. Patience in Layers and Resin Types
Layer the fiberglass and resin, allowing adequate curing time between layers. Rushing the process can result in weak spots and a less durable finish. If you are working with several layers for your laminate, use a laminating resin. A polyester or vinyl ester laminating resin will cure tacky allowing you to add each subsequent layer without having to sand first. Having to sand between layers can be very time consuming. This process is also true for gel coats. If you are going to do several layers of gel coat, use an unwaxed gel coat first. The final layer can use a waxed gel coat for the tack free finish.
*If you are using an epoxy laminating resin and need to do several layers, you will have to sand in between each one. Epoxy should not be used if you want to add gel coat over top. Polyesters will not adhere well to epoxy resins.
A waxed resin or gel coat should ultimately only be used for the final layer if working with polyester and vinyl ester resins. The final layer is where you want that perfect hard, tack free finish.
10. Finish with Finesse
After the fiberglass has fully cured, sand the surface starting with a coarse grit and moving to a finer grit for a smooth finish. Always wear a dust mask during sanding to avoid inhaling fiberglass particles.
Conclusion
Fiberglass work may seem daunting at first, but with patience and practice, it can be a rewarding addition to your DIY arsenal. Remember, like any craft, the more you work with fiberglass and resin, the more skilled you'll become. By following these tips and tricks, you'll be on your way to mastering the art of fiberglass work. Experiment with small projects to build up your confidence and when you're ready, tackle that big project you've been dreaming of. Happy crafting!
Share your experiences and projects with us; we’d love to see what you achieve with these tips!
comments (2)
-

-
 Karl
KarlWe are just doing the stringers ,layers finished do we need to apply anything else to finish? For curing???



@Karl- What resin did you use?