You have no items in your shopping cart.
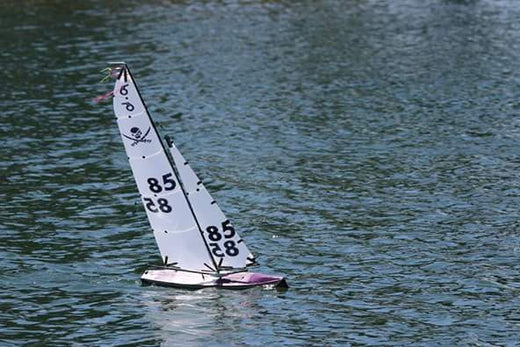
Are you in need of some new project ideas? We have tons of customer spotlights on our blog that are sure to impress you. In this blog post, check out a series of photos showing one of our customers' process in making his new RC boat. From applying the fiberglass to the Styrofoam plug to painting the final product, it is all there.
From Dave: Hi, just wanted to say thank you again for your support and awesome products. This rc yacht was created using 2 layers of 4 oz and 1 outside layer of .75oz, along with your resins, fumed silica and glass bubbles. Great results, I couldn't be happier :)
Dave
A list of products used:
Style #1522 4 oz. X 50″ Fiberglass Cloth
Style #106 .75 oz x 38″ Fiberglass Cloth

Applying the fiberglass cloth to the Styrofoam plug.

Weighing the fiberglass hull with the plug removed.

Fiberglass rc hull with wood frame inside.

Adding more wood to the fiberglass RC hull.


Adding the electronics to fiberglass rc yacht.

Testing the mast.

Priming fiberglass rc boat

Painted rc fiberglass boat

Sailing Fiberglass RC boat

RC fiberglass boat on the water

Fiberglass RC boat on the water

Finished fiberglass RC boat


