0 item(s)
View cart
You have no items in your shopping cart.


Working with fiberglass can be intimidating, but it doesn’t have to be. With the right supplies and guidance, you can create a beautiful fiberglass laminate that is strong and durable. This basic step-by-step guide will help you learn how to make a fiberglass laminate with ease.
Picking Your Resin and Fiberglass
The first step in making a fiberglass laminate is choosing the right resin and fiberglass for your project. There are three types of resin that can be used for laminates: polyester, vinyl ester or epoxy. Polyester resin is the most popular resin. It is easiest to use and less expensive than vinyl ester or epoxy resins. Vinyl ester resin has good corrosive resistance and has better impact absorption than polyesters. Epoxy resin is more expensive but also much stronger than polyester or vinyl ester resin. It is recommended for projects where strength and durability are critical.
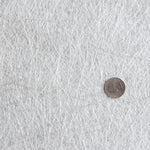
In addition to choosing your type of resin, you should also choose your type of fiberglass accordingly. Fiberglass chopped strand mat is not compatible with epoxy resin so keep that in mind when choosing your materials. Which fiberglass reinforcement you choose will depend on: where you are applying it, cost, what properties you need such as strength, thickness and weight etc. You can choose from fiberglass cloth, fiberglass tape, carbon fiber, woven roving, chopped strand mat, knitted fabric, plus more.
You will also need more supplies including mixing cups, stir sticks, sandpaper (optional), a fiberglass roller etc. The supplies you need will vary depending on your project.
For a detailed look at different resin and fiberglass choices, check out our Ultimate Fiberglass and Resin Guidebook.
Surface Preparation
Before applying any resin or fiberglass, it’s important to make sure that the surface you are working on is clean and free of debris. This will ensure that there are no weak spots in your finished product. A good way to do this is by using sandpaper, acetone and/or brushes to remove any dirt, dust, oil, or grease from the surface before beginning work. It’s also important to wear gloves when handling your materials to avoid skin irritation from contact with either the resin or the fibers in the glass fabric. A respirator is also recommended as the fumes from polyester and vinyl ester resins can be hazardous. Epoxy resin also has strong fumes but it is not as potent as the other resins.
Readying Fiberglass and Resin
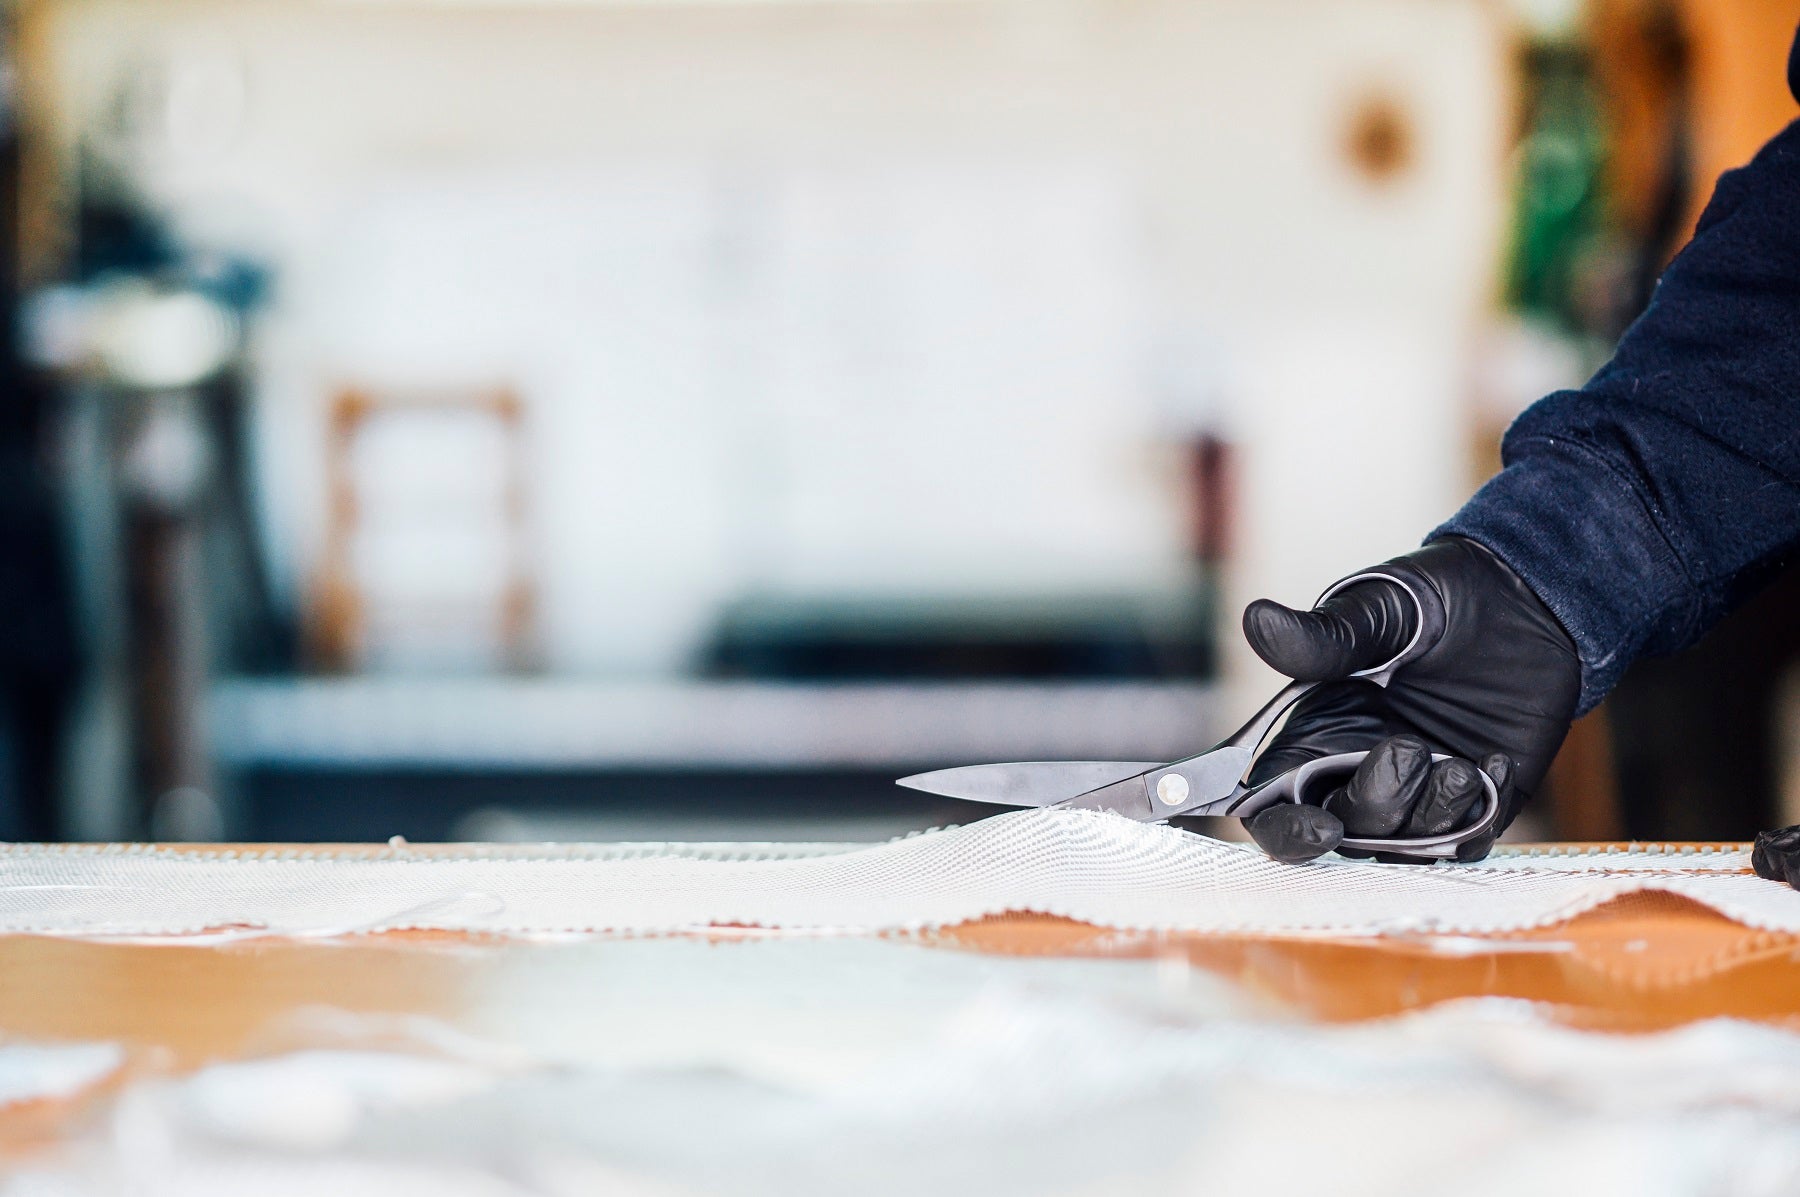
Once your surface has been prepared and all safety precautions have been taken, you are ready to begin. Start by cutting your fabric into pieces slightly larger than the area you are working with so that there is some overlap once everything is laid down.
Mix up your epoxy or polyester resin according to instructions on the package label—make sure you use only hardeners approved for use with the particular resin you are using. Measure out how much resin/hardener mixture is needed for one layer of your project and pour into separate mixing cups if needed. Combine the resin and hardener and mix thoroughly, scraping down the sides of the cup as you mix.
Applying Resin to the Reinforcement
Depending on your surface, you may need to seal it with a coat of resin before putting down the reinforcement. This is especially true if you are working with wood. Once the surface is ready, lay down a layer of fabric and use a brush, spreader or roller to evenly spread out a coat of resin over it. Don’t miss any spots. Let the resin set up before moving onto another layer of fabric until all pieces have been covered in resin. It is important to not use too much resin at once or it will exotherm and get too hot. This will ruin your project. If you use a laminating resin, you will not need to sand between layers. It will remain tacky so you can add additional layers. For your final layer, you can use a waxed resin or cover with plastic wrap or a PVA so that your final layer cures tack free.
Curing
The final step in making a fiberglass laminate is allowing it time to cure completely before using it for its intended purpose. The amount of time required for curing varies depending on factors such as temperature, humidity and hardener. This time can take anywhere from 24-48 hours. Curing helps strengthen the bond between the fibers and ensures that they won't break apart under pressure later on down the line when they're being used. Once cured properly, your newly made laminate will be ready to go!
Conclusion
With some patience and practice anyone can create a fiberglass laminate that looks professional! All it takes is picking out the right supplies, preparing your surface correctly, evenly applying resin over the fiberglass and letting it cure completely. With these tips in mind you'll be well on your way towards making beautiful laminates for any project!
Still need help? Check out the below blog posts for more information or email us at sales@fiberglasswarehouse.com
Polyester Resin vs. Epoxy Resin
Ultimate Fiberglass and Resin Guidebook