You have no items in your shopping cart.
A small crack in your boat's fiberglass might seem like a minor cosmetic issue, but it can quickly escalate into a significant problem if left unaddressed. Water intrusion, structural weakness, and further delamination are all potential risks. Properly assessing fiberglass damage is the crucial first step in any successful repair, ensuring you apply the right fix and prevent future headaches.
This guide will walk you through the process of evaluating fiberglass damage. You'll learn how to identify the type and extent of the issue, from superficial gelcoat crazing to deep structural fractures. By understanding how to properly diagnose the problem, you can determine the correct repair strategy, saving you time, money, and ensuring the longevity of your vessel.
How to Assess the Damage
A thorough assessment is more than just a quick glance. It involves a systematic inspection to understand the full scope of the damage. You'll need to clean the area, use a few simple tools, and know what signs to look for.
1. Clean the Damaged Area
Before you can accurately assess the damage, you need a clean surface. Dirt, grime, salt, and marine growth can easily hide the true extent of a crack or impact.
Start by washing the area with a mild boat soap and fresh water. If there are stubborn stains or old wax, you might need a stronger solvent. Use a clean rag and wear appropriate safety gear, such as gloves and safety glasses, when working with chemicals. Once the area is clean and completely dry, you can begin your inspection.
2. Perform a Visual Inspection
3. Conduct a Tap Test
The tap test is a simple yet effective way to detect delamination, where layers of fiberglass have separated from each other or from the core material.
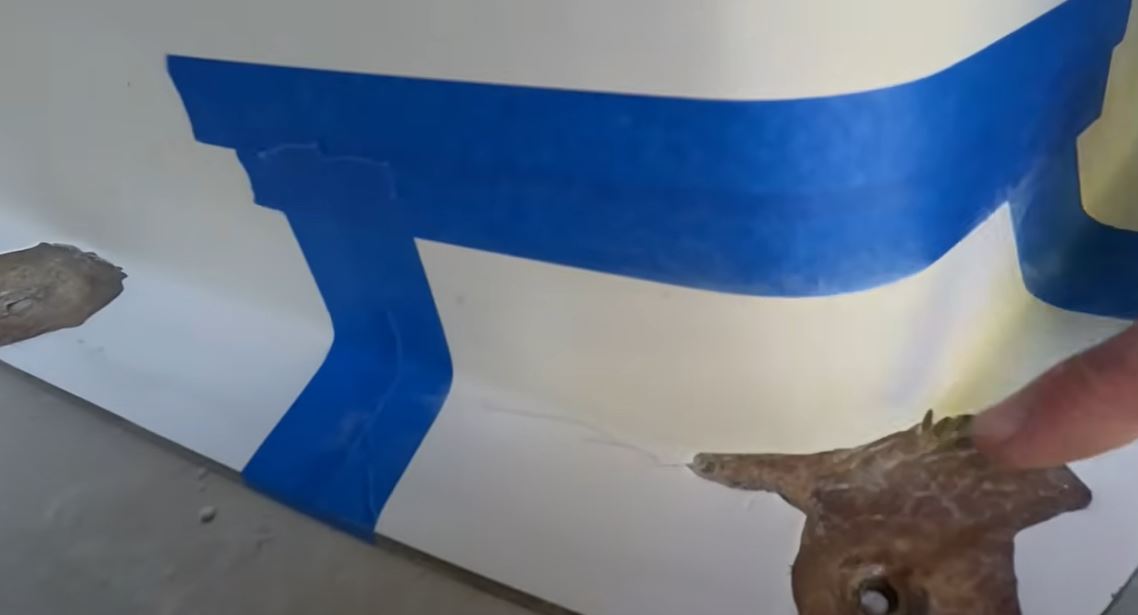
Mark the areas that produce a hollow sound with a grease pencil or masking tape. This will give you a map of the delamination, which often extends far beyond the visible crack.
4. Feel for Flexibility
Gently press on the area around the damage with your hand. Does the fiberglass feel solid, or does it flex more than the surrounding, undamaged sections? Excessive flexing is a clear sign of structural weakness. This could mean the inner laminate is fractured or the core material is compromised. Be cautious not to apply too much pressure, as you could worsen the damage.
5. Check for Water Intrusion
If you suspect water has entered the laminate, you need to confirm it. For blisters, you can carefully puncture one with a utility knife (wear eye protection). If water seeps out, you have an osmosis problem.
For cracks or impact damage, you might see moisture weeping from the fracture. In some cases, a moisture meter can provide a more scientific reading of the moisture content within the laminate, helping you determine how much drying time will be needed before a repair can begin.
How to Determine the Necessary Repair
Once you have a complete picture of the damage, you can decide on the appropriate repair method. The fix will depend on the type and severity of the issue you've identified.
Superficial Damage (Gelcoat Only)
- Diagnosis: The damage is limited to crazing, minor scratches, or small chips that don't penetrate the fiberglass laminate. A tap test reveals no hollow sounds, and the area feels solid.
- Repair Plan: This is primarily a cosmetic repair. For fine crazing, you might be able to wet-sand and polish the area to restore the finish. For deeper scratches or chips, you'll need to fill the void with a color-matched gelcoat paste, then sand and buff it to blend with the surrounding surface.
Minor Damage (Into the Fiberglass)
- Diagnosis: You have a small gouge or crack that has broken through the gelcoat and into the first few layers of fiberglass. The tap test is solid, and there is no flexing.
- Repair Plan: This repair requires building back the damaged layers. You'll need to use a rotary tool to grind out the crack into a "V" shape, which provides more surface area for the new material to bond to. The groove is then filled with a fiberglass-reinforced filler (like an epoxy putty or polyester or vinyl ester resin mixed with chopped strands). After the filler cures, it's sanded smooth, and a final layer of gelcoat is applied to seal the repair and match the finish.
Structural Damage (Delamination or Fracture)
- Diagnosis: The tap test reveals hollow areas, the panel flexes under pressure, or there is a deep, penetrating fracture. This indicates the damage goes deep into the laminate, and the structural integrity is compromised.
-
Repair Plan: This is a more complex repair that must restore the boat's strength.
- Remove Damaged Material: You must grind away all the delaminated, fractured, or water-saturated fiberglass and core material. The repair area should be ground back with a tapered or beveled edge, typically at a 12:1 ratio (the bevel should be 12 times as long as the laminate is thick).
- Rebuild the Laminate: New layers of fiberglass (chopped strand mat, biaxial knit fabric or woven roving) saturated with resin are applied one by one, extending from the smallest patch in the center to the largest on the outside. Each layer should overlap the one beneath it.
- Fairing and Finishing: Once the structural repair is complete and cured, the area is faired with a fairing compound to create a smooth surface. It's then primed, sanded, and finished with a topcoat and/or gelcoat to match the rest of the boat.
Your Next Steps
Properly assessing fiberglass damage is a skill that blends observation with a little bit of detective work. By taking a methodical approach—cleaning, inspecting, tapping, and feeling— you can accurately diagnose the problem and create a solid plan for a lasting repair. Addressing issues early, especially those affecting structural integrity, will not only keep your boat looking its best but also ensure it remains safe and seaworthy for years to come. Don't be afraid to take your time with the assessment; a few extra minutes of inspection can save you hours of work down the line.


