You have no items in your shopping cart.
Learn the steps for successful lamination with topics including vital safety measures to protect yourself during the process, the importance of surface preparation to ensure strong adhesion, cutting fiberglass to the needed size, and the best practices for mixing and applying resin for a smooth, durable finish.
Safety When Working with Fiberglass and Resin
***Before you start, always remember to wear safety equipment. Working with fiberglass can be hazardous. Safety glasses, latex or vinyl gloves, and a respirator are all important to keeping you safe from the fiberglass and resin. To protect your skin and clothes, wear Tyvek coveralls. Also, you need to work in a well ventilated area.

Surface Prep
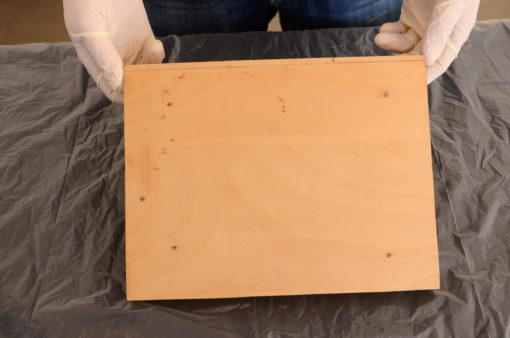
The first and most important step in laminating (after exercising safety) is surface preparation. Do not skip this step. Use Acetone to wipe down the area that is to be laminated. This removes any dust and grease from the surface.
Cutting Fiberglass
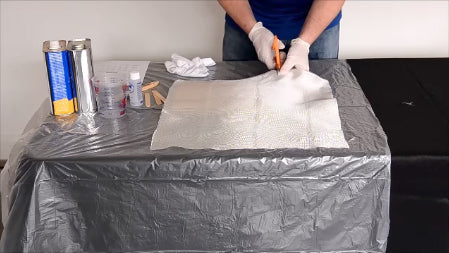
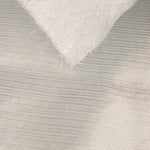
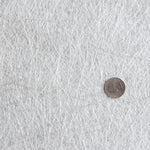
Cut the fiberglass cloth so that it is a little bigger than the surface that is to be laminated. There are differing of opinions on whether you should cut the fiberglass to the exact shape or if you should cut it a little larger. We prefer it to be a little bigger. This allows you to fully cover the area to be laminated without worrying about distorting the fiberglass around the edges.

Laminating Resin
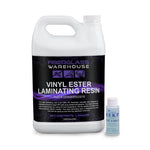
You can use a general purpose laminating resin to laminate the fiberglass to the plywood. It is used for general fiberglass applications. It cures with a surface tack which helps the multiple layers adhere well to each other. It also holds the reinforcement in place. Another benefit to the surface tack is that it is not necessary to sand between layers. On your final layer, wax can be added (surface agent or surface seal) to the resin.

Adding MEKP
We measured out 2 ounces of the resin. You can measure out how ever much you need. Next, you will want to use a catalyst quantity chart to figure out how much MEKP you will need to add to the polyester resin.
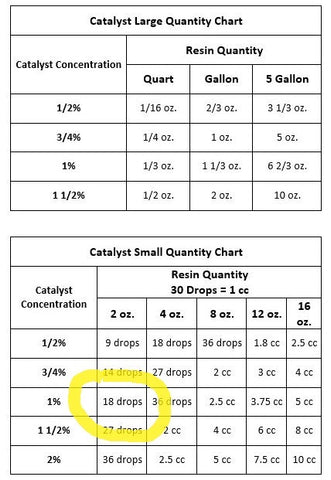
To add 1% MEKP to 2 ounces of polyester resin, we needed 18 drops of MEKP. The amounts of polyester resin/MEKP does not need to be quite as exact as it would need to be when working with epoxy resin. Using a stir stick, thoroughly mix the resin and MEKP for several minutes. For large quantities, use a power mixer and a drill to speed up the process.
Applying Resin
Pour a little bit of resin onto your plywood. Using a throw away brush or spreader, spread the resin until it covers the desired surface and there is a nice thin layer of resin on your plywood. Some people let this layer cure as a pre-coat. The pre-coat will seal the wood. The benefits of this layer is that once it is cured, additional resin will not soak into the wood. It will also help to prevent air bubbles. The downside is that the extra resin will add weight and it will take an extra day to complete your project.
Once you have applied the thin layer of resin to the plywood, place your fiberglass cloth onto it and allow the resin to soak into the cloth.

It will not completely wet it out so add a little more resin. Again, use your disposable brush or spreader to spread the resin. You can also use an aluminum roller to help completely wet out the cloth and remove any trapped air bubbles. Once you do not see any more white from the fiberglass cloth, you know there is plenty of resin. If you see thick spots of resin, you can use your brush or spreader to squeegee it off. You do not want to leave too much resin on your laminate or it will be brittle. But if you leave too little, the part will be weak. Now you let it cure.

Curing
During the “green stage', which is after the resin has gelled but before it is fully cured, you can cut off the excess fiberglass. You can do this with a razor blade.
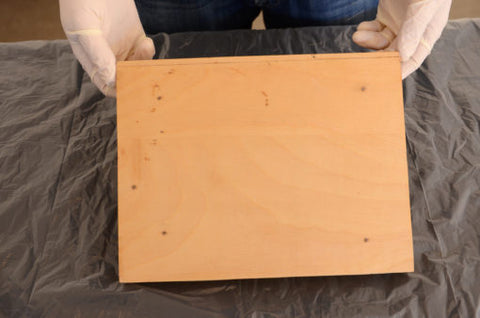
Here is the finished laminate. It is hard and fully cured.
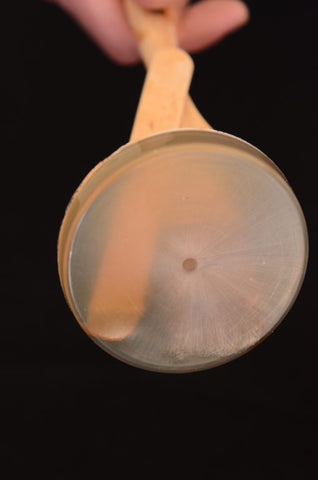
You can also check your left over resin. It should be hard and easily removed from the plastic container. If the resin is hard in some places and sticky in others, the resin was not thoroughly mixed.
For more how to's, information and products go to www.fiberglasswarehouse.com
You can also check out the YouTube version to see the process in action HERE.
comments (7)
-

-
 Todd Ryan
I just completed a marine plywood hull and was going to cover with 2 layers of 1708 knitted fabric with vinyl ester resin. Anything you would do differently?
-
 Fiberglass Warehouse
@Jim Kimbrell- Well, it depends on how porous the wood is. You can put extra resin on the fiberglass and hope is enough, but I have seen wood pull most of the resin out of the fiberglass. To be safe, it may be good to seal it first.
-
 Jim Kimbrell
For a large deck area of new plywood, Do I need to put on one coat of resin, the day before I want to start with applying resin and mat?
Or can i just go with extra resin and mat ? With out the primer? -
 Fiberglass Warehouse
@Pat- You could use the same process you did before but use vinyl ester resin. Vinyl ester resin is much more waterproof than polyester resin.




@Todd- Yes, that sounds about right. You may want to top it off with chopped strand mat for cosmetic purposes.