You have no items in your shopping cart.
If you are looking for a cost-effective way to make custom fiberglass molds, this step-by-step guide is exactly what you need. This guide will walk you through the process of creating a fiberglass mold from start to finish, including plug preparation, mold release and gel coat application, using fiberglass and resin and removing the plug. With some time and effort, anyone can make their own professional-looking fiberglass mold that can not only produce lots of parts but also last for many years!
Items Needed:
Sealer or resin if plug is porous
Tooling gel coat (or unwaxed gel coat)
Gel coat spray gun (recommended) or brush
Plug Preparation
The first step in making a fiberglass mold is preparing your plug. This is the piece that you would like to replicate for casting. It can be an existing part such as a car bumper or a canoe or it can be a new part you create out of modeling clay, wood, fiberglass and resin, sheet metal etc. The plug should have all imperfections filled and then sanded down until it is smooth and even. It is important that the plug is shaped just how you want it; any defects in the plug will be replicated in the finished product. If the plug is porous, it should be sealed with a mold sealer, lacquer or resin. Make sure the plug is clean and free of any contaminates. Preparing the plug is one of the most important parts. It is much easier to fill in and remove imperfections from the plug then it is to later remove them from the new mold.
Another note: It is necessary for the plug to have a slight taper or flange on the edge so the mold is not difficult to remove. Make sure to have an edge that you can use to separate the plug from the mold.
Mold Release
Before applying any resin or fibers to your plug, it is important to use a mold release agent. This prevents sticking and promotes easy removal when finished. You can use a mold release wax such as Partall Paste #2. Add several thin coats of wax with a cloth. You will need to buff the wax in between layers within one minute of applying. This can be done by hand but it is even better if you use a power buffer with a wool pad. This decreases the amount of time spent buffing. For creating a new mold, you will want to have 3-5 layers of mold release wax to ensure it is well coated. Once a mold is well seasoned, you will only need to use 1-2 layers of wax. Make sure not to miss any spots!
Once the mold release wax has been applied, buffed after each layer and allowed to dry, a PVA mold release such as Partall #10 or Fiberlease can be applied for extra security. It is best to apply with a spray gun but it can be applied by a brush as well. Three layers should be used, letting the PVA dry completely between each layer. The first coat should be thin followed by two thicker coats. The PVA will dry in 15-30 minutes depending on the temperature and humidity. It is important to be patient during this phase. The PVA must be completely dry before starting the gel coat step. The dry PVA film should be 2-4 mils thick for new molds. It should be smooth and glossy when done. If there are any imperfections, use water to wash away and reapply.
Gel Coat
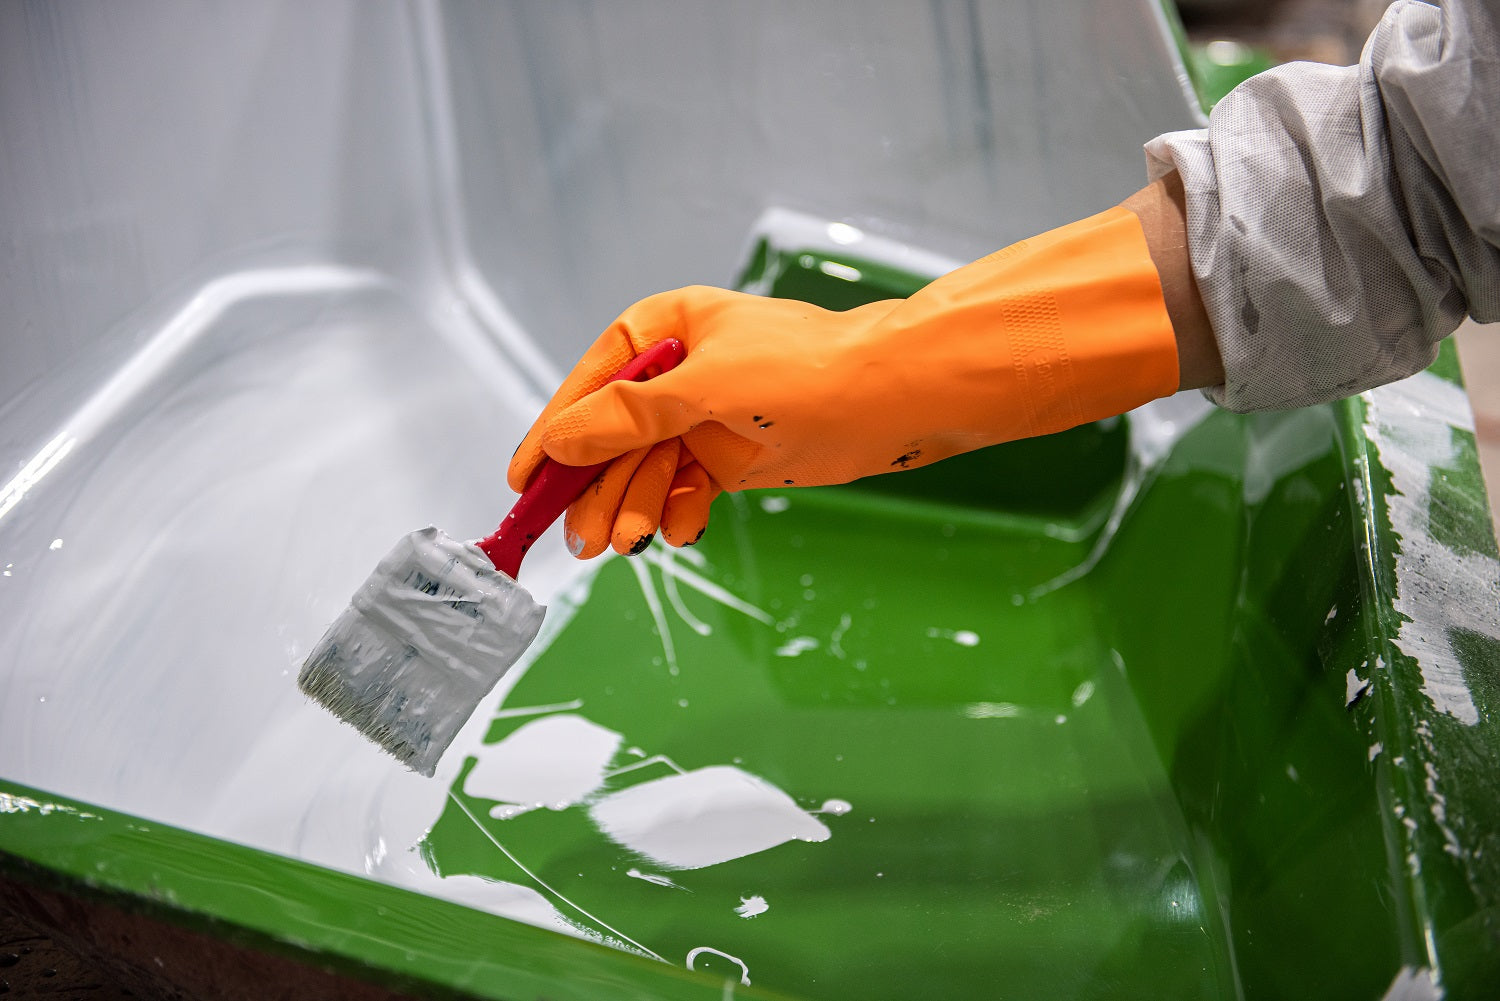
The next step is to apply a tooling gel coat. A tooling gel coat gives the mold surface a strong, scratch resistant surface and is designed to give your mold a longer life. It usually comes in black or orange so that you can tell the difference between the part and the mold. If you choose to use regular gel coat, DO NOT use gel coat with wax. It is recommended to spray the gel coat in several passes until the thickness is between 15 and 20 mils thick. While it does not have as nice of a finish, the gelcoat can also be applied by a brush. Gel coat must be mixed with MEKP catalyst at 1-2% by volume before spraying or brushing on.
Gel coat should be allowed to cure for several hours before starting the fiberglass and resin step. It should be cured enough that it cannot be scratched off by your fingernail but still tacky. By being patient and allowing the resin to cure for 2-4 hours (maybe longer depending on room temperature and humidity), you help prevent alligatoring. Alligatoring or wrinkling can be caused by styrene in the following coat affecting the uncured layer.
Flanges
As said previously, the edges of the plug need to have a taper to allow for easy demolding. You will want to add flanges to the part if it does not already have some.
Fiberglass and Resin
The reinforcement you use, depends on what you need from your mold. Chopped strand mat is the most popular fiberglass used on a mold because it builds thickness quickly. It can be torn into pieces instead of cut like fiberglass cloth. You can start with a ¾ ounce or 1 ounce chopped strand mat. If it is important that your mold is strong, you could layer the mat between layers of a heavier weight fiberglass such as the 10 ounce cloth. A 1.5 ounce mat or heavier chopped strand mat can be used for subsequent layers.
General purpose ortho laminating resin or ISO tooling polyester resin are the most commonly used resins for a mold. If strength and dimensional stability are imperative, you could use epoxy resin but it would not be compatible with chopped strand mat. A mold made with epoxy resin would be significantly more expensive than ortho or ISO. ISO resin is a tooling resin which shrinks less than the general purpose ortho resin. If your mold or final part has critical dimensions, ISO polyester resin should be used.
Make sure the room temperature is 70-80 degrees Fahrenheit for optimal results. While gel coat is still tacky, lay down your first layer of fiberglass. Mix the resin with hardener. For the polyester, ISO and vinyl ester resins, MEKP catalyst is mixed at 1-2% by volume (check your resin directions for recommended usage). Once mixed well, the resin can be added to the fiberglass to wet it out using a natural bristle brush or spreader. The resin can be worked into the fiberglass with a bristle roller. Next, an aluminum roller can be used to force out any air bubbles. If there are sharp corners, use a fiberglass corner roller to help eliminate any air bubbles. It is important to make sure there are no white spots which would be exposed fiberglass.
Allow the resin to cure. The resin should be hard but still tacky before adding the next layer of chopped strand mat or fiberglass cloth. If you try to cure several layers at once you run the risk of the mold warping. Continue the above steps over and over again until the mold is the desired thickness. An additional three to eight layers of 1.5 oz chopped strand mat is usually sufficient depending on your parts needs. Again, it is imperative that you are patient and allow curing time before the next step.
Removing the Plug
You must wait several days for the mold to cure before removing the plug. First, cut away any excess material still attached around its edges with a sharp knife or scissors before taking out your plug. Use a large wedge or paint stirrer at the line between the plug and the mold. You do not want to use anything sharp to release the mold from the plug or you risk scratching or chipping the new mold surface. Be very careful as you ensure all edges are separated. You should be able to pull the plug away from the mold now. If the mold is not releasing right away, you can very lightly tap on the edges with a mallet. This will help the two parts separate.
Mold Preparation
If you used a PVA, this film can now be washed away with water. The new mold may need to be sanded and polished before using if there are any imperfections. You can wet sand using 220 grit and progressing to 600 grit. This can be followed up by a polishing agent such as Aqua Blue 100 and 200. You can use a mold sealer such as Orca Mold Sealer as well.
The first few times you use your mold, you will want to follow the same mold release application as you did on your plug. Three to five layers of mold release wax, buffing between layers followed by several layers of PVA mold release. Remember that the PVA needs to dry between layers. This should fully season your mold.
Conclusion:
Creating your own custom molds does not have to be complicated or expensive! By following this simple guide you can create professional-looking results from start to finish without breaking the bank or spending too much time on complex processes. Working with fiberglass and resin can be a trial and error process but with some patience and dedication, you can learn to become proficient at making molds.
comments (9)
-

-
 Carman Dickson
Hello there. My neighborhood has wood finials on the top of our mailboxes in an acorn shape. They wear and crack with weather and are expensive to replace. I was thinking that if I could make a mold of the shape, and reproduce the finial with fiberglass, the replacement would be far less expensive and last longer. How would I go about doing this? Or could your company do this? Please let me know.
-
 Fiberglass Warehouse
Matthew- There is not a beginners kit that I know of. You could reach out to us at salesfiberglasswarehouse.com and we could figure out how much chopped strand mat, gel coat, mold release, resin and accessories you would need based on the size of your plug. We carry all of these items and could put together a kit.
-
 Matthew
Thanks for this write up. Is there a beginners kit available on the market?



@Carman Dickson- While it is possible to make these out of fiberglass, the time and money it would take is probably more than just replacing the wood ones, especially if you paid someone else to make them. I would charge $500 to make the mold, and at least $40 to make each piece because it is such a small job. You would probably be better off sealing the wood, the painting it with a UV protected polyurethane clear coat. That is my opinion. Someone else may tell you differently.